Be prepared for roadside inspections for Brake Safety Day, which typically happen in September every year. Brake Safety Day is an annual brake safety campaign put on by the Commercial Vehicle Safety Alliance (CVSA) where CMV inspectors conduct brake system inspections on large trucks and buses throughout North America to identify out-of-adjustment brakes and brake-system violations.
For more information about Brake Safety Day, visit the CVSA website here.
This week we have some tips from Bendix on how to pass any inspections with flying colours.
Preparation: Pre-trip knowledge, maintenance, and inspection
Inside the cab, it’s important to know the vehicle systems’ blinking light fault codes and how to address them. Antilock braking systems (ABS) warning lights convey key information on problems with components such as wheel speed sensors.
If the vehicle is equipped with traction control and stability control systems, the traction control/stability control lamp will indicate any issues. Blinking light fault codes for both ABS and traction control/stability control systems can be accessed using the dashboard diagnostic switch or a remote diagnostic unit. Using the fault code information in the service data sheet, drivers and technicians can pinpoint and address sensor issues.
Day-to-day, maintaining a clean air system is a priority. Components such as air seals, brake modulating valves, and brake chamber diaphragms are susceptible to premature damage if an air system is contaminated by moisture – and, in particular, oil. Deterioration of seals can cause air system leaks, which are targeted during Operation Airbrake inspections. Bendix recommends monthly checks for moisture in the air brake system, along with installation and regular replacement of oil-coalescing air dryer cartridges.
Conduct effective pre-trip visual inspections, with an eye out for problems such as loose hoses and leaks.
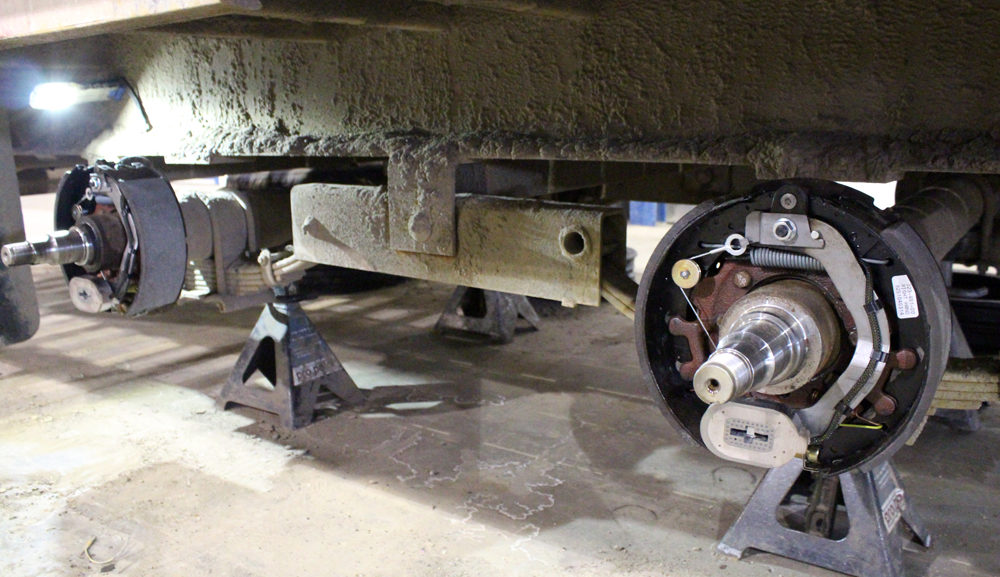
At the wheel-ends, visually check that the air chambers are not damaged and hanging loose or with broken push rods. Check foundation drum brakes for lining cracks, linings that may have been oil-saturated due to leaking wheel seals, and broken cam brackets. As long as there are no dust shields, linings can be checked without removing the wheel. And if the vehicle is equipped with air disc brakes, check the rotors for cracks or grooving and make sure the caliper is sliding freely.
More in-depth preparation includes regular, detailed inspection of the brake friction, checking the linings for thickness, cracks, and wear; and measuring the brake stroke. In addition, check the cam bushings and replace if out of specification, as well as lubricate the cam tube until grease purges.
For fleets and drivers operating vehicles equipped with automatic slack adjusters (ASAs), it’s important to remember not to manually adjust the ASA if the brake is beyond the stroke limit.
Drivers can incur fines if 25% of a truck’s wheel-ends are beyond the maximum allowable brake stroke (out of adjustment). Simple maintenance, such as greasing the slack, can keep the ASA working smoothly and in proper adjustment. Several factors – including improper lubrication of the camshaft, cam tube, and clevis pins; or excessive wear of the cam head, bushings, and rollers – can cause a brake stroke to exceed the maximum allowable value, but none of these will be fixed by manual readjustment of an automatic slack adjuster.
“Last year’s Brake Safety Week saw about one in 10 vehicles placed out of service for brake adjustment,” noted Frank Gilboy, slack adjuster product manager with Bendix Spicer Foundation Brake LLC. “Because properly installed and maintained ASAs should never need adjusting after the initial setup, we emphasize the need to learn and address the possible causes of ASA-equipped brakes going out of adjustment, which has a direct impact on brake performance and vehicle safety.”
Inspection Day: What to expect
Operation Airbrake targets the following items for inspection during its roadside procedures:
- Driver’s license
- Checking the air brake mechanical components
- Registration
- Low air warning device
- Pushrod travel (adjustment)
- Brake linings/drums
- Leaks and air loss rate
- Tractor protection system
Brake Safety Day inspections generally fall under the Level IV category of North American Standard Inspection Levels, being one-time examinations of a particular item. CVSA’s Web page notes that some inspections may fall under Level I – the more thorough North American Standard Inspection – and that in 10 jurisdictions, overall vehicle braking efficiency will be tested using performance-based brake testing (PBBT) equipment.
Once a vehicle has been selected and made safe for inspection, the Operation Airbrake procedure follows these steps:
- Checking the air brake mechanical components
- Checking the air brake mechanical components
- Checking the steering axle air brake mechanical components
- Checking the brake adjustment
- Building the air system’s pressure to 90-100 psi
- Checking the air brake antilock braking system, if applicable
- Testing the air loss rate, if necessary
- Testing the low air pressure warning device
- Checking the tractor protection system
- Finalizing the paperwork and providing the results to the driver
For more detailed guidelines, fleets should refer to TMC/ATA Recommended Practice 627A (RP627A), which provides out-of-service criteria for both air disc and foundation drum brakes, and aligns directly with CVSA inspection guidelines.

